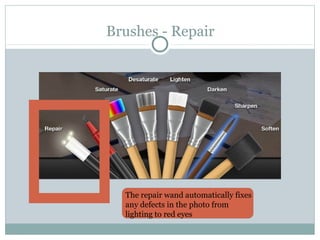
1. Brushes - Repair
The repair wand automatically fixes
any defects in the photo from
lighting to red eyes
2. Brushes - Repair
By using Repair it will automatically find the defects in the
image and fix them such as, lighting, red eye. Eliminating
the task of you doing it yourself
3. Brushes – Red Eye
The Red Eye brush allows you to fix red eye
which come from the over exposure of light from
the flash
4. Brushes – Red Eye
This is the original unedited
image with faults and visible This is after the Red Eye brush has
red eye due to the amount of totally removed any sign of Red Eye
like exposure
8. Brushes - Desaturation
This is the original image unedited Desaturation allows you to blur any
defects or areas that you would wish to
hide, over using it gives a blurry effect
9. Naming/Tagging
This allows
you to tag a
photo with
any name
you with and
this will
place it into
categories
10. Naming/Tagging
Tagging allows you to put the photo After tagging you can see the different
into categories and in more than categories which makes the images
one easier to find and share
11. Brushes - Lighten
BEFORE AFTER
The lighten brush makes the
picture look a lot more glowing
and makes it more clearer to
see
12. Brushes - Darken
BEFORE AFTER
After pressing this darkening brush,
the picture is a lot dimmer
13. Brushes - Sharpen
BEFORE AFTER
The sharpen brush gives the picture
a lot more definition as you can
really see the texture of the chairs
etc
15. Sharing
When you have
completed editing
you can share your
photo meaning that
the photo will be
shared on Twitter,
Facebook etc
Email
Twitter iMovie Facebook