Apidays New York 2024 - The Good, the Bad and the Governed by David O'Neill, ...
Photo shoot edits
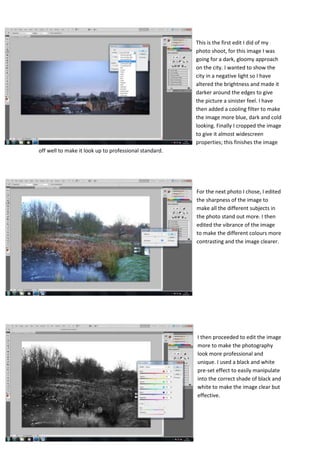
1. This is the first edit I did of my
photo shoot, for this image I was
going for a dark, gloomy approach
on the city. I wanted to show the
city in a negative light so I have
altered the brightness and made it
darker around the edges to give
the picture a sinister feel. I have
then added a cooling filter to make
the image more blue, dark and cold
looking. Finally I cropped the image
to give it almost widescreen
properties; this finishes the image
off well to make it look up to professional standard.
For the next photo I chose, I edited
the sharpness of the image to
make all the different subjects in
the photo stand out more. I then
edited the vibrance of the image
to make the different colours more
contrasting and the image clearer.
I then proceeded to edit the image
more to make the photography
look more professional and
unique. I used a black and white
pre-set effect to easily manipulate
into the correct shade of black and
white to make the image clear but
effective.
2. For the next image I decided to
initially crop out the unnecessary
waste of the image. By doing this I
can make the image conform to
the rule of thirds and become a
more professional and interesting
image.
I then proceeded to edit the
image itself by changing the hue
and saturation of the image, I also
turned the contrast up. Each of
these editsmake the image
sharper and brighter in colour.
This is a photo that I edited by
turning the brightness down
slightly and the contrast up, this
makes the sky look a deeper
shade of blue and the detail of the
tree more defined. The picture
didn’t need a lot of editing
because it is a plain picture so this
much is the perfect amount.
3. Finally for this photograph I didn’t
want to do too much editing so I
chose to simply adjust small
settings in order to make the
photo look more in focus and
seasonal the objective of the edit
is to make the photo look more
like winter.