
Recommandé
Recommandé
Contenu connexe
Dernier
Dernier (9)
En vedette
En vedette (20)
5 Simple Steps to make Solar Panels
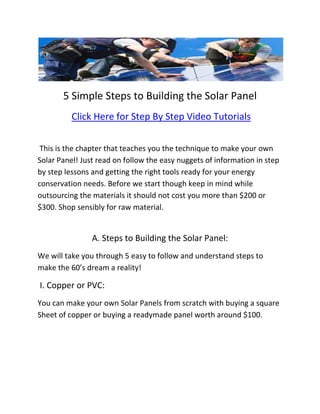
- 1. 5 Simple Steps to Building the Solar Panel Click Here for Step By Step Video Tutorials This is the chapter that teaches you the technique to make your own Solar Panel! Just read on follow the easy nuggets of information in step by step lessons and getting the right tools ready for your energy conservation needs. Before we start though keep in mind while outsourcing the materials it should not cost you more than $200 or $300. Shop sensibly for raw material. A. Steps to Building the Solar Panel: We will take you through 5 easy to follow and understand steps to make the 60’s dream a reality! I. Copper or PVC: You can make your own Solar Panels from scratch with buying a square Sheet of copper or buying a readymade panel worth around $100.
- 2. Click Here for Step By Step Video Tutorials ii. Battery: Buy yourself some 12 volt rechargeable acid batteries these should be Deep cycle to work best. The cheap batteries will cost between $30 - $50. iii. The Box: Buy a battery box to put your batteries in to protect them from extreme weather and dust.
- 3. Click Here for Step By Step Video Tutorials iv. DC Input: Buy yourself a DC input from any hardware store. Should not cost you more than $10.or you can source this from house hold appliances lying around like fans, hairdryers etc. v. Attaching the Meter: You can attach the DC Input meter to the top of the battery box by using any standard drill, though handle with caution. After that we discuss the wiring in the next sub topic, just ensure you followed all the steps till here correctly and you have the right equipment. B. Wiring Plans: Connect the insulated wires to the battery first. You do this by wrapping the wire tightly against the
- 4. Click Here for Step By Step Video Tutorials Negative wingnut first and then the Positive wingnut or terminal. Repeat the procedure for the DC connector, -ive first and +ive next. Last connect the Solar Panel you created or bought to the insulated wire in a similar way. This Connects the Solar Panel to the battery and the battery to the DC outlet. Where you can attach any electric appliance for usage. C: Mounting and Conservation: By this step your work is done! Just close the lid of the battery box and securely place the solar panel on the roof or in the garden, where ever you can get more sunlight for longer! Choose the spot well. Lay out the cable and secure the battery box next. It usually takes 5 or 6 hours to charge a new or empty battery and it’ll take at least a couple of hours of sunlight to charge the battery again.
- 5. Click Here for Step By Step Video Tutorials D: Energy Efficient Again, we cannot stress enough the importance of energy conservation today. And the one panel may not be enough to fulfill all your energy needs but take this as a starting point a testing phase and build on it. Easy as that and you can be energy resourceful in yourself and a tad free of the energy producing giants. A step in the right direction indeed!