Beginners Guide to TikTok for Search - Rachel Pearson - We are Tilt __ Bright...
How to inspect and replace piper forward cowling bushing
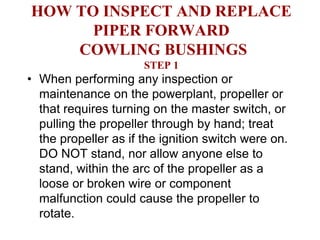
1. HOW TO INSPECT AND REPLACE
PIPER FORWARD
COWLING BUSHINGS
STEP 1
• When performing any inspection or
maintenance on the powerplant, propeller or
that requires turning on the master switch, or
pulling the propeller through by hand; treat
the propeller as if the ignition switch were on.
DO NOT stand, nor allow anyone else to
stand, within the arc of the propeller as a
loose or broken wire or component
malfunction could cause the propeller to
rotate.
2. STEP 2
• Remove upper cowling and
inspect forward lock pins, latch
plates and bushings for
damage, wear or missing
parts.
• NOTE: This cowling was
missing both bushings! The
elongated holes show they
have been missing for a while.
3. STEP 3
• If the latch plates are not
worn but the bushings are
loose or worn, the lower
cowling does not need to
be removed.
• Remove the old bushing
by removing the snap ring
and push the bushing
through the latch plate.
• See “Piper Airframe
Parts” to purchase the
new bushing and snap
ring.
• Install the new bushing
and snap ring and
reinstall the top cowling.
4. STEP 4
• If latch plates are found to be
worn, the lower cowling will
need to be removed.
• See “Piper Airframe Parts”
for the new cowl latch plate.
• NOTE: When removing
lower cowling from “R” model
aircraft, (PA-28R-) note the
direction and location of all
fasteners when removing
them. This makes the
installation much easier.
Also, be sure to disconnect
any landing light wires and
gear door linkages etc.
5. STEP 5
• When lower cowling is
removed, remove the lock nuts
attaching the latch plate to the
cowling. Install the new latch
plate and lock nuts, DO NOT
tighten the lock nuts yet.
• Install new bushings in latch
plates per Step #3.
• While both cowlings are off,
take the top and lower cowlings
and assemble them together,
locking all side fasteners and
assure that the forward pins are
locked into the new bushings.
• Now tighten the lock nuts on the
latch plates.
6. STEP 6
• Reinstall the lower
cowling making sure all
landing light wiring, gear
door linkages and oil
cooler hoses are
reattached. Leave the Gear Door Bracket
screws loose for now.
• Reinstall top cowling,
ensuring that the forward
lock pins are fully
engaged into the
bushings.
7. STEP 7
• Latch the side fasteners and tighten all screws. This
reduces any stress on the cowling when reinstalling.
8. PIPER FORWARD
COWLING BUSHINGS
INSTALLATION COMPLETE
• Make appropriate logbook entry of the work
performed. The FAA has a sample logbook entry
shown in the free video on our home page at
www.apex-inc.biz.
• This presentation contains information that is
consistent with FAR 65.83 “Recent Experience
Requirements.”
• Please visit www.apex-inc.biz to view a free video
that reviews Basic Maintenance for Pilots and
Technicians as part of FAR 43 and 91. Click on
“Watch the video” located about half way down on
the left side of the page.