1) The document discusses how to efficiently work on multiple branches in parallel in Git. It presents two methods: using a preliminary commit that can later be amended with additional changes, or using Git's stash feature to temporarily store changes.
2) It walks through an example where the user starts work on a new feature branch, then switches to another branch while temporarily saving their work either by stashing or doing a preliminary commit.
3) When returning to the original branch, the user can continue working and amend their preliminary commit, or apply the stashed changes to continue where they left off.
WSO2Con2024 - Enabling Transactional System's Exponential Growth With Simplicity
Git Tutorial EclipseCon France 2014 - Git Exercise 03 - work on branches in parallel
1. Work on branches in parallel
In this exercise you learn how you can efficiently work in different branches in parallel. A
common situation is that you want to switch to another branch and you want to temporarily
save your work on the current branch. You will learn two possibilities:
● Amend: Commit an unfinished change and replace this commit later with a new,
refined commit using the amend feature of git.
● Stash: Put your change into the git stash area with the stash command
Preparation
Follow exercise 2, “Develop a feature/bug fix” to create a commit on a feature branch based
on the remote tracking branch origin/master.
Start working on another feature
● Create a new local branch based on the remote tracking branch “origin/master”
● You may create the new branch from the History View :
○ Select the project, then click Show In > History (Some views, e.g. in the Java
EE-Perspective, do not have this shortcut, in this case use Team > Show in
History)
○ In the history view click all toggle buttons as shown in the screenshot
(“Link with Editor and Selection”, “Show all changes in Repository”, “Compare
Mode”, “Show all branches”)
3. ● Or you may do that from the Repositories View :
select the remote tracking branch origin/master and click Create Branch
● Enter “addMultiplyOperation” as the name of the new branch, make sure the
“Checkout new branch” is selected and click Finish
● Check that now you don’t see the changes of the first exercise anymore in your
workspace.
● Start working on a change, e.g. add a MultiplyOperation, do not commit yet, first
read on.
Save your work temporarily
Now you want to switch to another branch but you want to continue working at your new
feature later on. There are two ways to achieve that: doing a preliminary commit and use
amend later to continue your work or use stash. You may do this exercise twice to try both
ways.
Preliminary Commit
The easiest thing to do is to just commit your work in progress and amend that commit later
to replace the preliminary commit.
● Open the Git Staging View
● Enter a preliminary message, e.g. “WIP ...” for Work in Progress, stage the files to be
committed and click on Commit
4. Stash
Select Stash Changes on the repository node in the Git Repositories View. As a result
you will get a new node in the view. It contains a list of all the stashed changes. The label
contains the current branch, the id and the commit message of the current commit.
Note that untracked files are not stashed by default. If you are using at least EGit 3.4 you
can include untracked files by checking the corresponding option.
In older versions you have to drag and drop an untracked file to the “Staged Changes” area
before you can stash it.
Switch to another branch
● Now you can switch to the first feature branch “addDivideOperation”, either by double
clicking on the branch node in the Git Repositories View, by selecting “Team >
Switch to > addDivideOperation” or by clicking “Checkout” in the History View.
● Check that your workspace contains the changes you committed in your first feature
(implementing divide) branch. You could now continue working here. For example:
you may want to fix the division by zero issue if it is not already handled. If you do
any changes in the “addDivideOperation” branch don’t forget to commit them before
the next step
5. ● Switch back to the “addMultiplyOperation” branch
Continue working on the branch to add Multiply
Case 1: Preliminary Commit
● Do another change in the workspace improving Multiply.
● Compare your changed project with the first, preliminary commit by selecting
Compare With > HEAD revision. This will show you the changes you will add on top
of the first commit.
● Compare your changed project with the parent commit of your first, preliminary
commit by selecting Compare With > Previous revision. This will show you the
changes you will have in your new commit after the next step.
Create a new commit with the combined changes of your first, preliminary commit
and your current changes
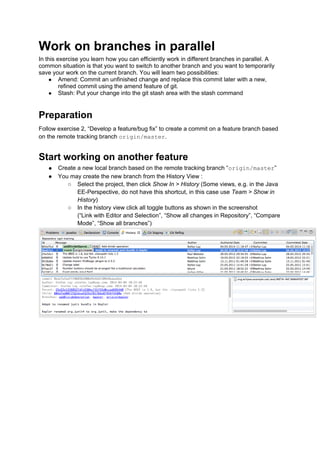
● Open the Git Staging View
● Click the “Amend” button as shown below.
● Now you see again the commit message of the last commit you made in this branch.
Change it to something meaningful, stage the change and click the Commit button.
● In the History View you can now see that your first, preliminary commit was replaced
by the new one.