1. Downloading and Installing R
This blog post is meant to accompany the slides on the same topic. They are an addition to the
video demos (to be uploaded soon).
Downloading R
To download R, go to your internet browser and type “cran.r-project.org”.
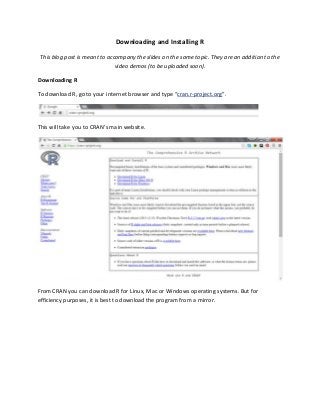
This will take you to CRAN’s main website.
From CRAN you can download R for Linux, Mac or Windows operating systems. But for
efficiency purposes, it is best to download the program from a mirror.
2. If you recall from the slides, CRAN’s mirrors are identical copies of the master site located at
various areas. The screenshot below shows some of the locations.
Go ahead and select a mirror closest to you. You should be directed to a site identical to CRAN’s
main website.
3. Now select the program that is suitable for your operating system. In this demo, I will download
the windows version.
Click the “install R for the first time” from the base sub-directory.
4. With that done, you will directed to the downloading site which also specifies the latest R
version you will be installing. Please take note or read the highlighted sections in the
screenshot.
Finally click on the download link and it should immediately begin the downloading process.
5. It might take some time so hold on until it completely downloads the program.
Installing R
To begin the installation process, click on the downloaded executable program and then click
Run.
6. You might get a message asking if you want R to make changes to your computer, if so, click
yes. A pop-up window should appear asking you to indicate the preferred setup language.
If English is not your preferred language, then select a more suitable one.
With the language selected, you will now get to the setup wizard which requires you to close all
the other applications.
8. Next, indicate where you would like R to be installed. The default is usually the best, but you
can use the browse button to indicate another location on your computer.
9. You can then select the R components to install with R. The default components are adequate
since the setup will detect you PC’s specification and recommend core files.
10. Once all that is done, you will get the opportunity to customize R’s startup. The default is to
accept the recommended startup but just to see what it entails, click yes to customize it.
The first startup option that you can change is the startup menu folder. The default is to have it
within the R folder, but you can browse for another location. You can also indicate that the
folder should not be created. However, the default setting here is recommended.
11. With the startup folder indicated, you can now indicate the additional tasks the installer should
perform like creating a desktop icon, quick launch and registry entries.
12. Installation should begin immediately. Once done click on finish and you would have
successfully installed base R.