1. A Blog is simply an empty space
waiting for your potential!
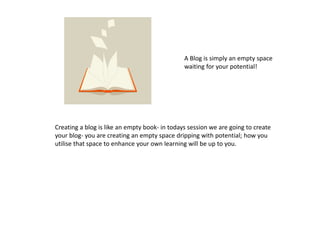
Creating a blog is like an empty book- in todays session we are going to create
your blog- you are creating an empty space dripping with potential; how you
utilise that space to enhance your own learning will be up to you.
2. Put your
gmail
details here
Your first task is to go to the website and using your gmail account create
your own Blog. If you haven’t had a chance to create a gmail account you
can do that now here too.
3. You can use any Title you like but for your address there is a little trial and error- start
with what you want and continue to make changes until it is accepted.
Then select a template by clicking on it. You can change this at any time so select the
first one you fancy for now ☺
4. And like magic your Blog is created!
On the left of your View Blog button is a drop down menu
Choose the last option ‘settings’
5. Change?
Change?
Here is where you can change the privacy settings to suit what you want.
You can also change your Title, address etc here.
You can return to this page at any time in the future to make changes also.
You can also add a description or intention/goal in here too.
6. Layout
Gadjets
Next we can put some cool widgets in.
Go to Layout
Choose a place you want your gadjet then click
Add gadget
Choose your gadget
7. Publish!
These buttons
are similar to
‘Word’
Now view your Blog
Click the pencil or ‘new post’ to add your first post
Add your text
Have a go at adding a picture
Choose Publish when you are finished
Yahoo, you have Blogged!