Nayabad Call Girls ✔ 8005736733 ✔ Hot Model With Sexy Bhabi Ready For Sex At ...
Exploding box instructions
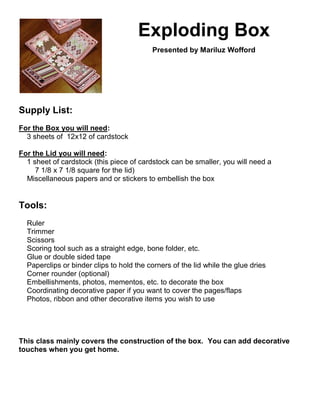
1. Exploding Box
Presented by Mariluz Wofford
Supply List:
For the Box you will need:
3 sheets of 12x12 of cardstock
For the Lid you will need:
1 sheet of cardstock (this piece of cardstock can be smaller, you will need a
7 1/8 x 7 1/8 square for the lid)
Miscellaneous papers and or stickers to embellish the box
Tools:
Ruler
Trimmer
Scissors
Scoring tool such as a straight edge, bone folder, etc.
Glue or double sided tape
Paperclips or binder clips to hold the corners of the lid while the glue dries
Corner rounder (optional)
Embellishments, photos, mementos, etc. to decorate the box
Coordinating decorative paper if you want to cover the pages/flaps
Photos, ribbon and other decorative items you wish to use
This class mainly covers the construction of the box. You can add decorative
touches when you get home.
2. 1. First we will do the lid so that the glue has time to dry while we make the box.
Take the cardstock that you selected for your lid and cut it to 7 1/8 x 7 1/8 inches.
2. Now score at 1 ½ inches in from each of the four edges.
3. Fold on each of the four score lines, and make a cut on only 2 of the sides, as
illustrated.
Cut on only two of the sides from the edge to the fold.
x
x
x
x
4. Glue the corners in place. I have found that double-sided tape was NOT strong
enough for this (it holds for a little while and then lets go) so I would recommend
a wet glue, like a tacky glue or a paper glue. Use some paperclips to hold the
corners in place while drying.
5. Now we will make the box itself. Take the 3 sheets of cardstock and cut them as
follows:
Bottom piece should measure 12” x 12”
Middle piece should be cut to 11 ¾” x 11 ¾”
Top piece should be cut to 11.5” x 11.5”
6. Score all 3 pieces of cardstock at 4” on each side. Each piece of cardstock will
now have 9 squares like a tic-tac-toe grid.
7. Cut out the 4 outside corners from each piece of cardstock.
3. 8. Round all the corners with a corner rounder punch (optional).
9. Stack your 3 layers one on top of the other. Now you need to glue together your
3 layers. It’s easiest if you start by putting the smallest piece onto the middle
piece, and then the middle piece (with attached small piece) onto the largest one.
Glue only the centers…not the sides. You can also use double stick tape for this
assembly. Take care to center each layer.
10. Now, have a wonderful time finishing the inside and outside of your explosion
box. The coordinating papers will be cut slightly smaller than the dimensions of the
“flap” you are decorating. This allows all of the colors and papers to show as
“borders” which adds to the visual beauty of the pages. Try using flowers, ribbons,
buttons, and let your imagination take you as far as you want. Try a batteryoperated tea light inside to act as a “birthday cake” or “wedding/anniversary cake”,
etc.
The following are some videos you can find on your computer to use as a tutorial when
you get home for tips and ideas for finishing the inside of your explosion box.
http://www.youtube.com/watch?v=IYCUdE_Rtcc
http://www.youtube.com/watch?v=4uc7_zyMiDo&feature=channel&list=UL
http://www.youtube.com/watch?v=TGSl9mCM5N0&list=UL4uc7_zyMiDo
http://www.acherryontop.com/articles/Exploding-Box-Tutorial-3828