%+27788225528 love spells in new york Psychic Readings, Attraction spells,Bri...
Git Tutorial EclipseCon France 2014 - Git Exercise 02 - develop a feature
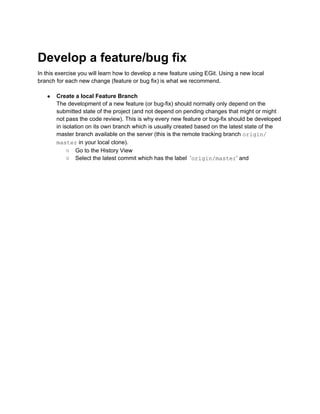
1. Develop a feature/bug fix
In this exercise you will learn how to develop a new feature using EGit. Using a new local
branch for each new change (feature or bug fix) is what we recommend.
● Create a local Feature Branch
The development of a new feature (or bug-fix) should normally only depend on the
submitted state of the project (and not depend on pending changes that might or might
not pass the code review). This is why every new feature or bug-fix should be developed
in isolation on its own branch which is usually created based on the latest state of the
master branch available on the server (this is the remote tracking branch origin/
master in your local clone).
○ Go to the History View
○ Select the latest commit which has the label ‘origin/master’ and
2. click Create Branch..
○ in the “New Branch” dialog
■ enter a name for the local feature branch into the “Branch Name” field
(this is just a local name that is not exposed to anybody else)
■ keep the Pull Strategy Merge
■ keep Checkout new branch selected
3. ■ confirm the dialog by clicking on Finish
○ This creates and checks out the new branch
● Develop the feature
Simply start editing the source code and implement the feature. The example project
implements a simple calculator, you may want to add an operation (create a new class
Divide.java in package org.eclipse.example.calc.internal.operations
4. and add a corresponding line to method setupDefaultOperations in class
Calculator) or polish its SWT or Swing UI..
● Test your feature
Run the unit tests. To keep the tutorial setup simple there are only unit tests for the logic
but no UI tests.
● Commit your changes locally
Now you want to create a new version of the local repository in your current feature
branch containing your changes. This is called “commit”.
There are two ways to perform a commit: with the Commit Dialog or from the Staging
View. In this exercise we will use the Staging View.
● Open the Git Staging view and inspect the status
Open the staging view by selecting Window > Show View > Other… > Git Staging. This
view presents which files you have touched and which files will be in the next commit.
“Unstaged Changes” lists those changes which you have done locally but which you
have not yet added to the index. “Staged Changes” list those changes which you already
have added to the index. You can drag and drop files from one area to the other.
● The Git Staging view should list two files “Calculator.java” and “Divide.java”. Double-click
on “Calculator.java” to inspect which changes you have done.
5. ● Drag and drop “Calculator.java” and “Divide.java” to the Staged Changes area to mark
that they should be included in the next commit.
● Do another change in the class “Divide.java”. for example fix the copyright header. Now
you have two entries for the file “Divide.java”. The next commit would only contain the
changes which you have already staged.