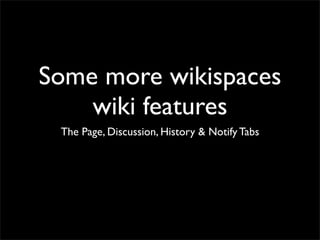
2. 4 tabs at the top of
every page:
What would each of them do?
3. The PAGE tab - click on the little
down arrow to get list of options
This list allows you to change many features of the page.
Click through each one and see what it allows you to do.
4. The DISCUSSION Tab
This is where people
viewing your wiki
can leave comments
about the content of
a page. Or, you might
ask students to
respond to a
particular question
here.
6. You will then be able to read the discussion
topic or question and send a reply (don’t
forget to click on ‘post’):
7. You should now see the discussion
forming based around that one page:
Each page of your wiki has its own Discussion page
allowing you to easily and clearly encourage many
different discussions based on the content of you wiki.
8. The HISTORY Tab - this is where you see the
current and old versions of your page ordered by
date and time. You can revert to any previous
version of your page - just in case someone gets in
and deletes something!
9. The most important part of this page is the ‘key’ line
that shows you what things have been entered and
which ones deleted for that particular version.
You can scroll through this version to see the
highlighted changes.
10. If you decide you prefer this version then you
can click on ‘revert to this version’ to change
your page back.
11. The NOTIFY ME Tab is where you can sign up to get
automatic messages of any change that has been made to your
wiki, meaning you don’t have to keep coming back to it just to
see if anything is new - your wiki will tell you.
You can either get notifications of changes to that
one page, or to the whole wiki.
13. As it needs to look like this before you an request
changes to be sent to your email.
14. Then choose which notifications you want to receive
via the drop down menu. Then click ‘Update
Monitoring.’
15. The other option for
notifications is RSS
Watch the following two videos, sign up for
Google Reader if you are interested, and add
your RSS feed for your wiki in there.