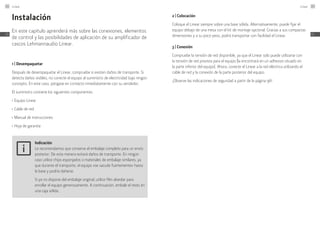
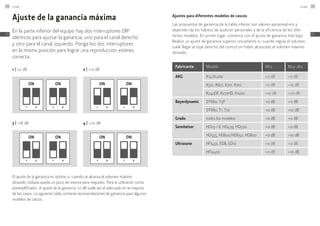
Le document est un manuel d'utilisation pour l'amplificateur de casque Linear, conçu pour se connecter aux sorties de ligne des appareils Hi-Fi, fabriqué en Allemagne avec un accent sur la qualité sonore. Il discute des composants, de l'installation, de la sécurité, et fournit des recommandations de réglage et d'utilisation. Le manuel inclut également des mises en garde concernant l'utilisation de casques à des volumes élevés, ainsi que des informations techniques sur le produit.


![Caution!
Headphones can produce volume levels which may be hazardous
to your health. So before you put on your headphones, always
check that the selected volume level is not too high.
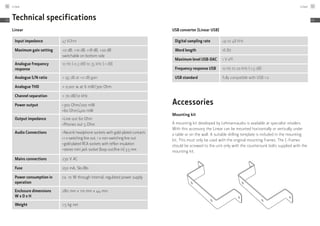
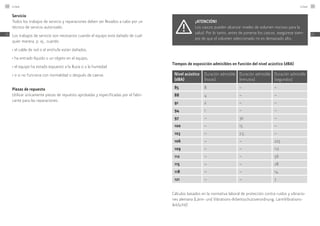
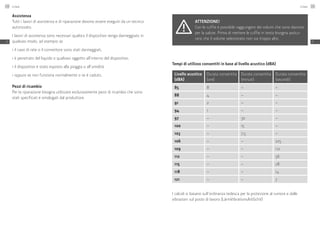
Permissible exposure times depending on SPL (dBA)
Sound pressure
level
(dBA)
Permissible
duration
(hours)
Permissible
duration
(minutes)
Permissible
duration
(seconds)
85 8 – –
88 4 – –
91 2 – –
94 1 – –
97 – 30 –
100 – 15 –
103 – 7,5 –
106 – – 225
109 – – 112
112 – – 56
115 – – 28
118 – – 14
121 – – 7
Calculations based on the German Lärm- und Vibrations-Arbeitsschutzverord-
nung (LärmVibrationsArbSchV) [Noise and Vibrations Occupational Safety and
Health Directive]
Linear40
EN
Linear 41
EN](https://image.slidesharecdn.com/5lmanuallinearscreen-161028221008/85/Lehmannaudio-Linear-Linear-USB-headphone-amplifier-manual-5-languages-21-320.jpg)
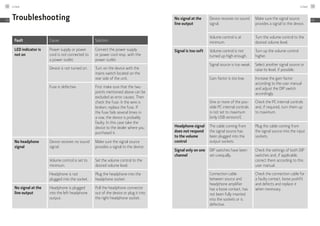
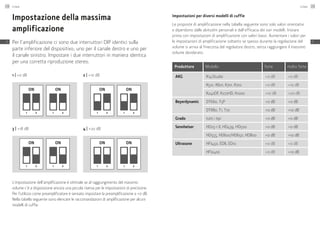
![Front panel
1 2 3
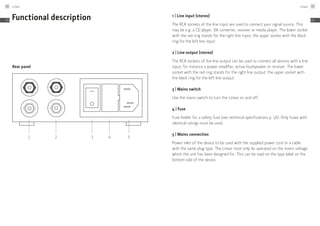
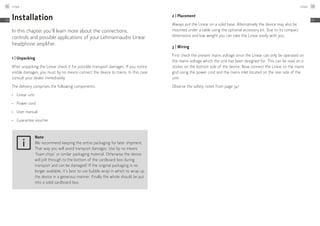
Functional description
In this chapter you will learn more about the connections,
controls and also the application possibilities of your
Lehmannaudio Linear headphone amplifier.
Caution!
Headphones can produce volume levels which may be hazardous
to your health. So before you put on your headphones, always
check that the selected volume level is not too high.
More information about the permissible exposure times depending on the
sound pressure level (dBA) based on the German Lärm- und Vibrations-
Arbeitsschutzverordnung (LärmVibrationsArbSchV) [Noise and Vibrations
Occupational Safety and Health Directive] can be found on page 40.
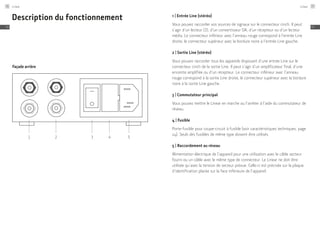
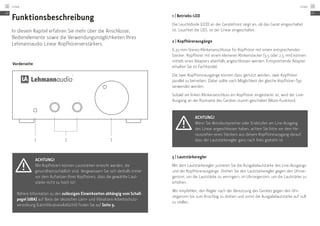
1 | LED indicator
The light emitting diode (LED) on the front panel indicates the operating status
of the device. When the LED is lit, the Linear is ready for operation.
2 | Headphone outputs
6.35 mm (1⁄4 ") stereo jack sockets for headphones with a corresponding con-
nector. Headphone models with a smaller jack plug (3.5 or 2.5 mm) can also
be connected using an adapter. Suitable adapters are available at specialist
retailers. The two headphone outputs may be used to drive two headphones in
parallel mode, preferably of the same type if possible. Whenever a headphone is
plugged into the left jack socket, the line output on the rear panel will be muted
(mute function).
Caution !
With active loudspeakers or power amplifiers connected to
the line out of the Linear, make sure the volume control is
turned fully counterclockwise before pulling a plug out of this
headphone output.
3 | Volume control
Using the volume control you can adjust the output level of both the line output
and the headphone outputs. Turn the volume control counterclockwise to lower
the volume; turning it clockwise will increase the level.
We suggest you turn this control fully counterclockwise at the end of operation,
thus setting the output level to zero.
Linear44
EN
Linear 45
EN](https://image.slidesharecdn.com/5lmanuallinearscreen-161028221008/85/Lehmannaudio-Linear-Linear-USB-headphone-amplifier-manual-5-languages-23-320.jpg)