Télécharger pour lire hors ligne


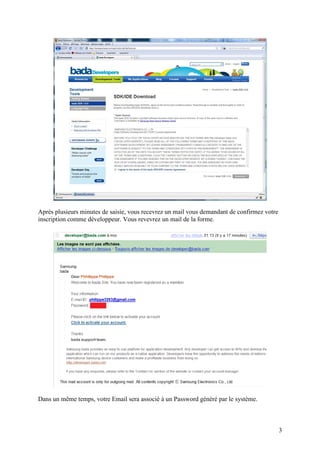


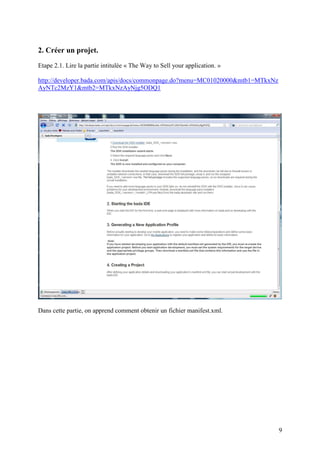

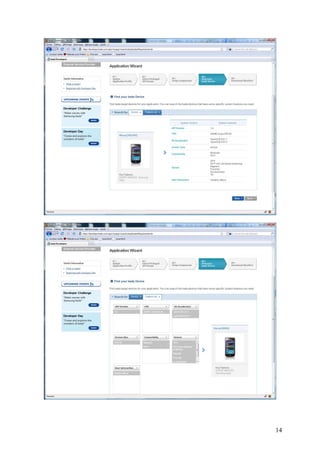
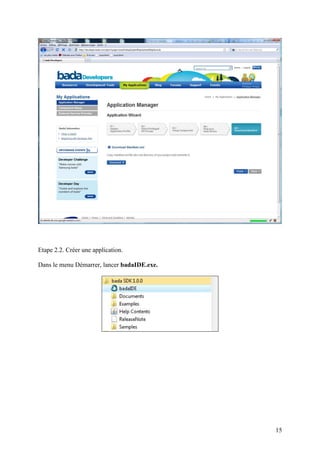
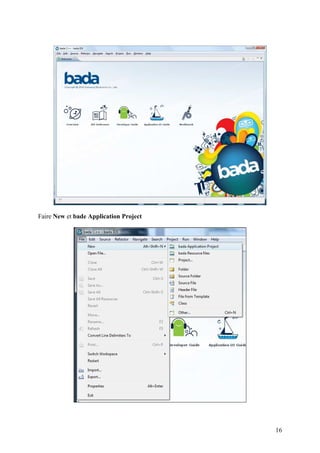
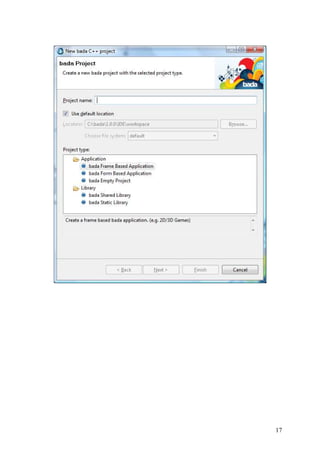
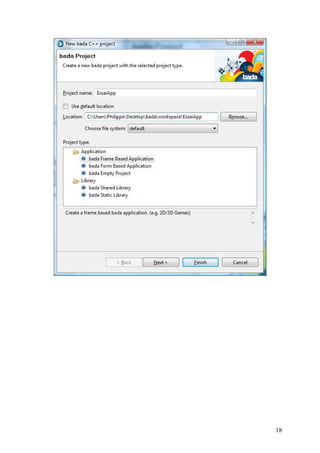
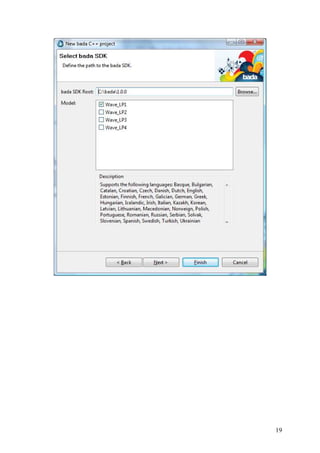
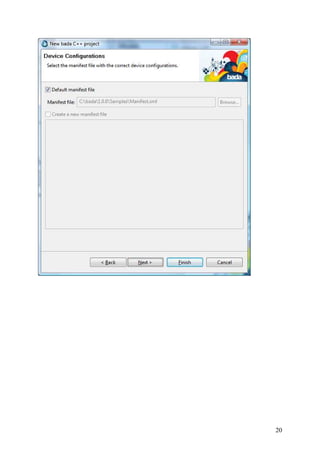


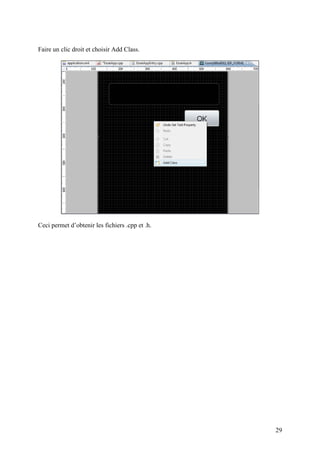


Le document guide l'utilisateur à travers le processus de développement d'applications pour le système Bada, en commençant par l'inscription et l'installation du kit de développement. Il décrit ensuite les étapes pour créer un projet, modifier des fichiers de code, et ajouter des éléments d'interface utilisateur. Enfin, il aborde la géolocalisation et la conversion de types de données dans le cadre du développement d'applications.


![The tiger]](https://cdn.slidesharecdn.com/ss_thumbnails/thetiger-130113052756-phpapp01-thumbnail.jpg?width=640&height=640&fit=bounds)


