
Recommandé
Contenu connexe
En vedette
Similaire à Fingerprinting Slides
Similaire à Fingerprinting Slides (20)
Dernier
Dernier (20)
Fingerprinting Slides
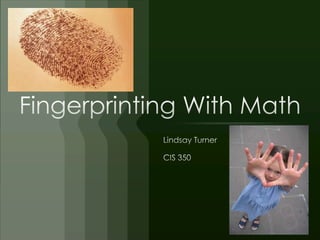
- 1. Fingerprinting With Math Lindsay Turner CIS 350
- 2. Questions for Thought… Have you ever been fingerprinted? How do you get a fingerprint? Why do you think we fingerprint? What other types of identification do we have? What jobs would deal with fingerprinting? How many people have the same exact fingerprint as you?
- 3. Types of Fingerprints Each person has an unique set of fingerprints. No two people in the world share the same fingerprint. Fingerprints are separated into different categories. Within each of these categories there are different types. For the purposes of our class, we are only dealing with four different classifications. Let's try matching some fingerprints!
- 4. What are the differences in these fingerprint types?
- 5. What are we going to do?! Soon, we will break into our groups and start fingerprinting each other. First we need to put something on your finger to capture the print. What are some things we can use? For our class, we are going to use our pencils. Take your pencils and rub them onto your paper. Then, rub your finger into the scribble that you have made.
- 6. Capturing Your Fingerprint After your finger is coated with the pencil residue, a student in your group will smooth a piece of tape on your finger. Once you pull the tape off you will see your fingerprint. Hold it up the light and decide which type of fingerprint it is. When everyone in your group comes to a consensus place your tape beside the corresponding fingerprint on your worksheet. Do this for every member of your group.
- 7. Analyzing the Data Now that you have determined the types of fingerprints in your group, you can put the data into a pie chart. What is beneficial in putting information into a graph? Each person will fill in their own pie chart on the bottom of their worksheet. After everyone in your group has finished, you will compare graphs and check your work. Finally each group will make a large graph on their poster board to preset to the class.
- 8. After each group explains their pie chart to the class, we will then compile the information to make a pie chart for the entire class.
- 9. At the End of Class… Fill in the class’s pie chart on your worksheet. Then, each student is responsible for creating their group’s pie chart using Microsoft Excel. Tomorrow…. We will be collecting fingerprints from our crime scene.