Télécharger en tant que PDF, PPTX


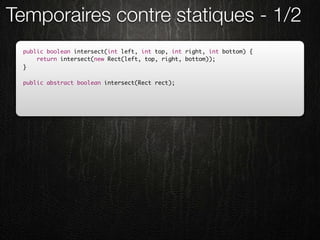
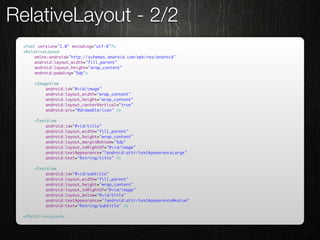
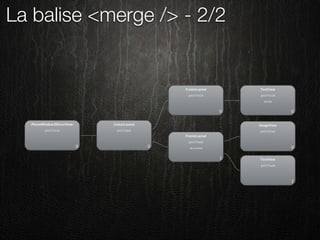
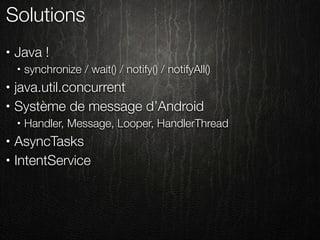
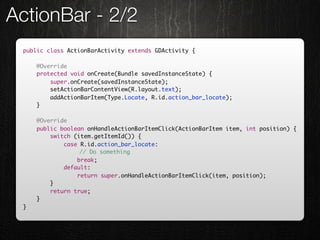
![Temporaires contre statiques - 2/2
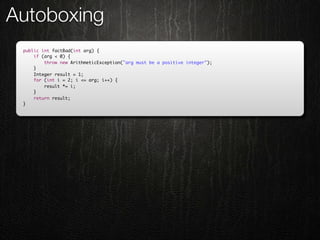
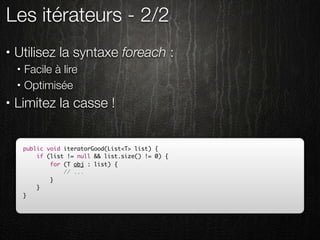
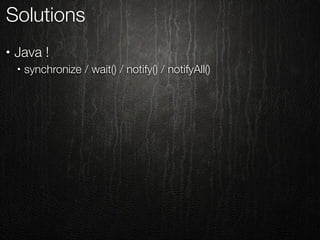
• Technique dédiée aux méthodes critiques
• onDraw(), onMeasure(), onLayout(), getView(), etc.
• Paint
• Rect
• Point
• Classes utilitaires
• Random
• Méthodes à retour via arguments
• Location.distanceBetween( ..., float[] results)](https://image.slidesharecdn.com/androidoptimizationsgreendroid-110328105231-phpapp02/85/Android-Optimisations-Greendroid-32-320.jpg)
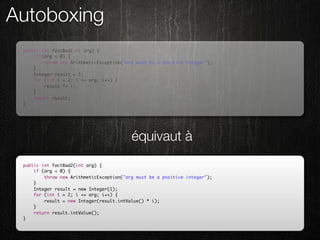
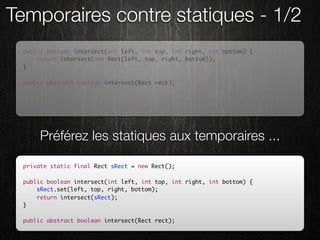
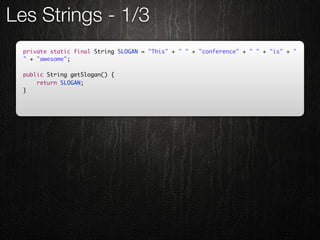
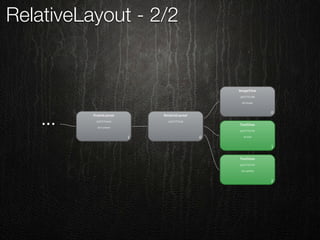
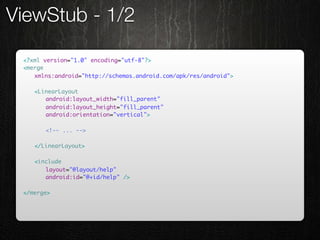
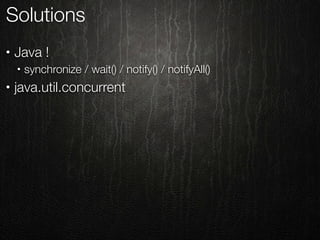
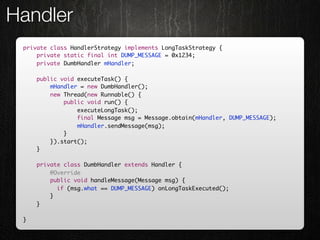
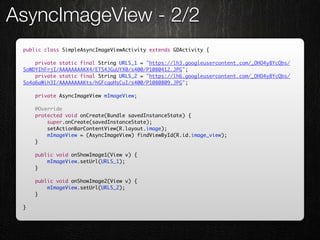
![Les arguments variables
public void main() {
varargs(1, 2, 3);
}
public abstract void varargs(int ... args);
est équivalent à la création d’un tableau ...
public void main() {
varargs(new int[]{1, 2, 3});
}
public abstract void varargs(int ... args);](https://image.slidesharecdn.com/androidoptimizationsgreendroid-110328105231-phpapp02/85/Android-Optimisations-Greendroid-34-320.jpg)


![Les Strings - 2/3
public String concatBad(String[] strings) {
String result = null;
for (String s : strings) {
result += s;
}
return result;
}](https://image.slidesharecdn.com/androidoptimizationsgreendroid-110328105231-phpapp02/85/Android-Optimisations-Greendroid-40-320.jpg)
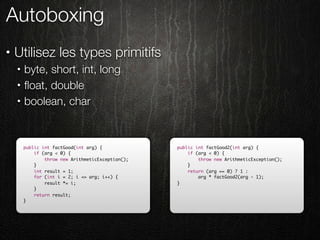
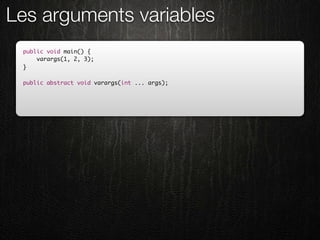
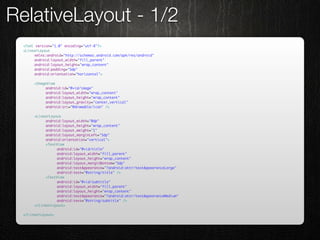
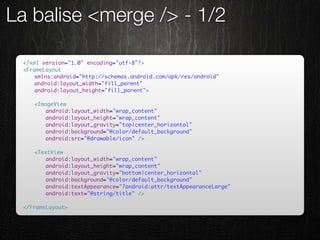
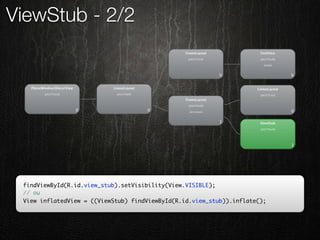
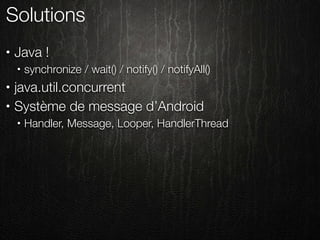
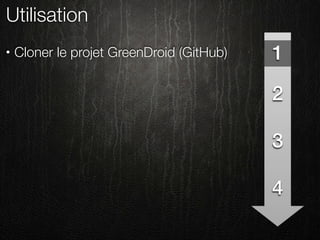
![Les Strings - 2/3
public String concatBad(String[] strings) {
String result = null;
for (String s : strings) {
result += s;
}
return result;
}
entraine l’instanciation d’un StringBuilder
public String concatBad(String[] strings) {
String result = null;
for (String s : strings) {
result = new StringBuilder(result).append(s).toString();
}
return result;
}](https://image.slidesharecdn.com/androidoptimizationsgreendroid-110328105231-phpapp02/85/Android-Optimisations-Greendroid-41-320.jpg)
![Les Strings - 3/3
public String concatCorrect(String[] strings) {
StringBuilder result = new StringBuilder();
for (String s : strings) {
result.append(s);
}
return result.toString();
}](https://image.slidesharecdn.com/androidoptimizationsgreendroid-110328105231-phpapp02/85/Android-Optimisations-Greendroid-42-320.jpg)
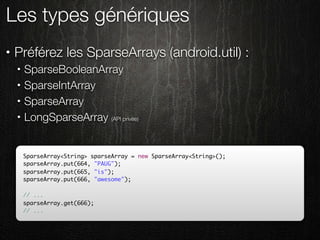
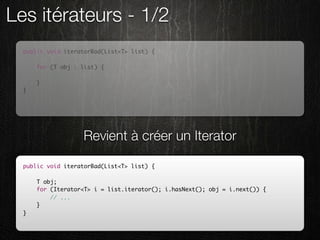
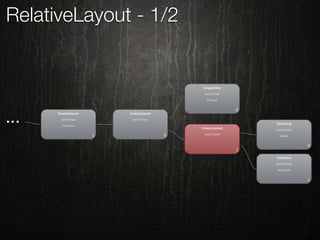
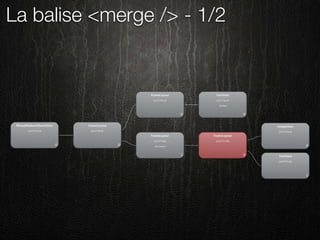
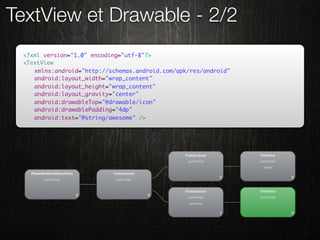
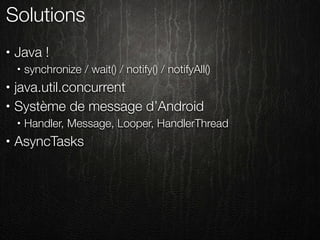
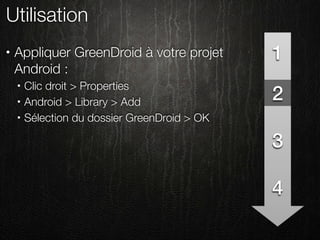
![Les Strings - 3/3
public String concatCorrect(String[] strings) {
StringBuilder result = new StringBuilder();
for (String s : strings) {
result.append(s);
}
return result.toString();
}
Ou encore mieux ...
private static StringBuilder sStringBuilder = new StringBuilder();
public String concatGood(String[] strings) {
sStringBuilder.setLength(0);
for (String s : strings) {
sStringBuilder.append(s);
}
return sStringBuilder.toString();
}](https://image.slidesharecdn.com/androidoptimizationsgreendroid-110328105231-phpapp02/85/Android-Optimisations-Greendroid-43-320.jpg)


![AsyncTask
private class AsyncTaskStrategy implements LongTaskStrategy {
public void executeTask() {
(new DumbTask()).execute((Void[]) null);
}
private class DumbTask extends AsyncTask<Void, Void, Void> {
@Override
protected Void doInBackground(Void... params) {
executeLongTask();
return null;
}
@Override
protected void onPostExecute(Void result) {
onLongTaskExecuted();
}
}
}](https://image.slidesharecdn.com/androidoptimizationsgreendroid-110328105231-phpapp02/85/Android-Optimisations-Greendroid-83-320.jpg)


Le document présente des optimisations générales pour le développement d'applications Android, en se concentrant sur la gestion de la mémoire, l'utilisation efficace des types de données et l'optimisation des interfaces utilisateurs. Il aborde les limitations du système Android, les bonnes pratiques en matière de langage Java et les conseils pour minimiser les ressources utilisées par les vues. L'auteur, Cyril Mottier, partage des techniques pour améliorer la réactivité et la fluidité des applications.